Introduction
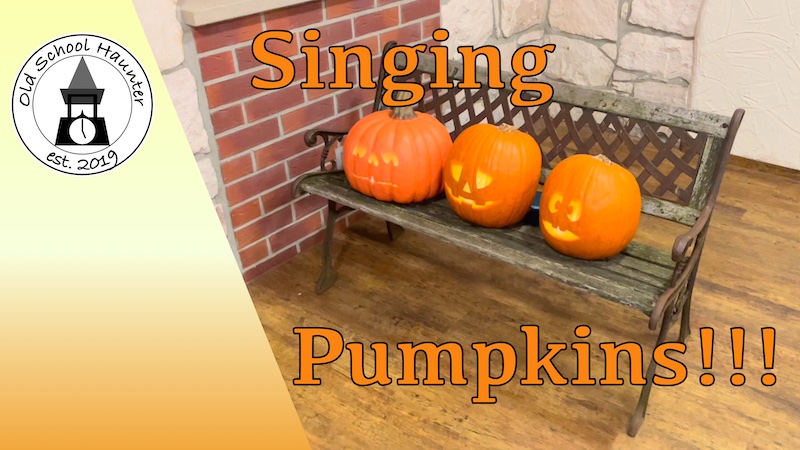
Halloween pumpkin DIY made of styrofoam Pumpkins are just as much a part of Halloween as creepy characters and sweets. I also use pumpkins as decorations. Most of the time I get pumpkins that you can eat afterwards. Unfortunately, you don’t always manage to process all the pumpkins and at some point you throw them away because they go bad. Personally, I always find that a shame.
For this reason I have put together these instructions that show how a decorative pumpkin for Halloween can be made from styrofoam. The material for this project is about 15 € for a pumpkin. Of course, it depends on the size. My pumpkin has a diameter of 33cm at the end and is approx. 35cm high (including the stem).
View instructions for the styrofoam pumpkin on my Youtube channel.
You can find an overview of all handicraft instructions here.
| Note: When working with styrofoam or with spray paint, a suitable protective mask should always be worn to protect your health. |
Material
- 2 styorfoam 0.5×1.00m and 50mm thick (about 20×40 inch and 2 inch thickness)
- Piece of high density foam for the stem (6x6x10cm)
- expanding foam (Great Stuff)
- Plaster (e.g. model plaster)
- External spatula
- Wooden skewers (e.g. shish kebab sticks)
- Rope
- Colors
- Orange
- Moosgrün
- Clay brown
- Black
- Clear lacquer matt
Tools
- Knife, saw or styrofoam cutter aka hot wire
- Dog brush or other tool to work on styrofoam
- Sandpaper for wood or metal (80s, 120s, 180s)
- rubber gloves
- Brush 40 or 50mm wide
- Permanent marker
- Hand milling machine e.g. Dremel (not a must)
- coarse semicircular file
- 10mm drill and suitable drill or cordless screwdriver
Step 1 – The beginning
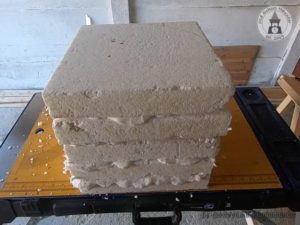
In the first step 6 styrofoam sheets with the dimensions 33x33cm are cut out. These are then glued on top of each other with the help of the construction foam. The stack should be weighted down at the end so that the construction foam doesn’t push the Styrofoam sheets apart so much.
Step 2 – Sculpting the form of the pumpkin
After the construction foam has dried, you can continue. Auxiliary lines are drawn approx. 7cm inwards along the edges. This gives you the rough shape for the pumpkin. Of course, this can be varied depending on how flat or steep the curve of the pumpkin should be.
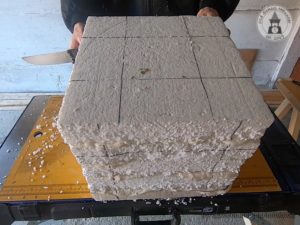
Then cut along the guide lines using a saw, knife or styrofoam cutter. After that the the block looks like a diamond.
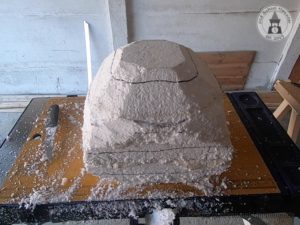
When the rough shape is done, the round shape of the pumpkin is shaped with the help of the dog brush. Here you should slowly approach the round shape. Working out the curves sounds tedious, but only takes about 1 hour. In addition, this step creates a lot of polystyrene dirt.
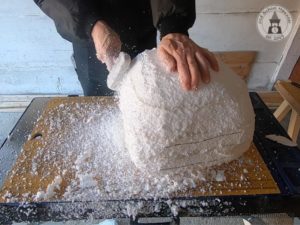
Step 3 – Add the deepings
Now the deepings of the pumpkin are worked out. To do this, first press a nail into the center of the pumpkin at the bottom and top. Then the pumpkin is divided into 8 parts with the help of the rope. The rope is always stretched from top to bottom and then again from bottom to top. Of course, the individual parts do not have to be evenly wide. There can be wider and narrower parts. When the ropes are taut, the lines are transferred to the Styrofoam using the permanent marker. After that, the rope is removed again.
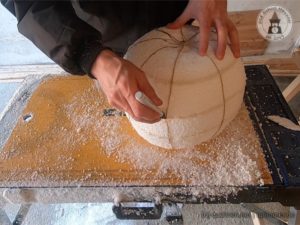
I then divided each section into two again, so I ended up with 16 subdivisions. The pumpkin now looks like a cake to be cut.
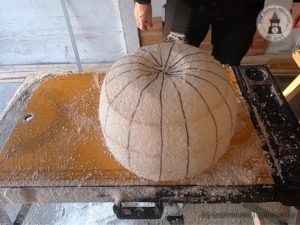
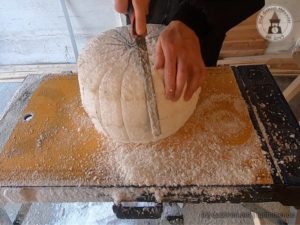
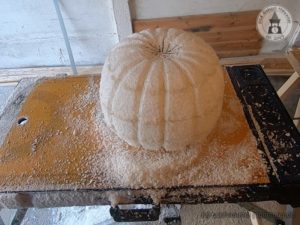
To work out the deepings the coarse half round file is used. Start small and then piece by piece make the depressions wider and deeper. With me the deepenings war at the end approx. 1cm deep and 2cm broad.
Step 4 – Sand smooth
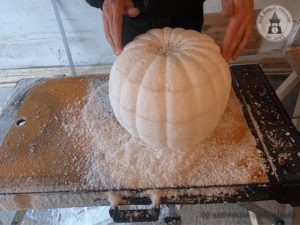
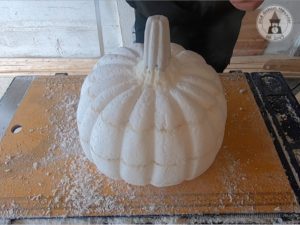
Now the styrofoam is sanded smooth with the help of the sandpaper. The edges of the depressions are also rounded off. After that, the pumpkin will have its final appearance.
Step 5 – The stem
The handle is made from a Strodurb block with the dimensions 6x6x10cm. The block is first rounded off. Then the Styrodur is sanded smooth with 120 grit sandpaper.
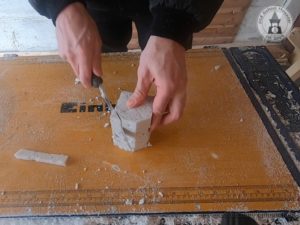

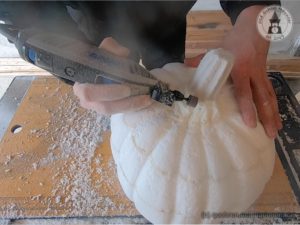
The indentations are then worked out with the milling machine. These do not have to coincide with the indentations of the pumpkin. Then the edges are rounded off with sandpaper along the milled depressions.
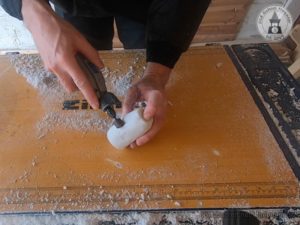
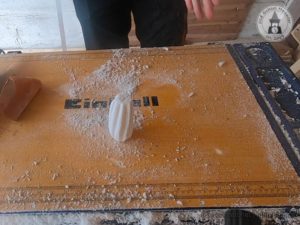
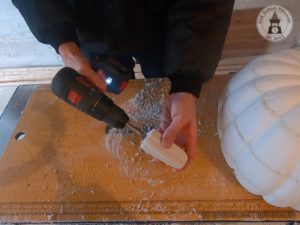
To attach the stem to the pumpkin, first a hole is drilled into the stem and into the pumpkin with the 10mm drill. The hole in the pumpkin is drilled in the center of the pumpkin, where the stem also finds its place. The wooden skewers are shortened so that they fit into the holes when the stem is placed on the pumpkin and connect the stem and the pumpkin. Then the holes are filled with expanding foam and the wooden skewers are inserted into the hole in the pumpkin.
The stem is put on the wooden skewers and a bit of expanding foam is added to the transition between the stem and the pumpkin, from which the transition between the pumpkin and the stem is worked out later. The handle is fixed with 3 wooden skewers so that it is not shifted by the construction foam.
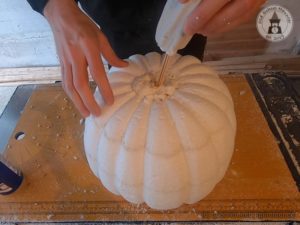
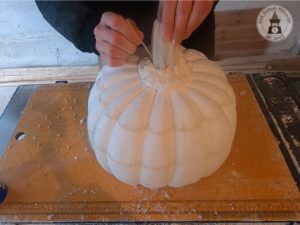
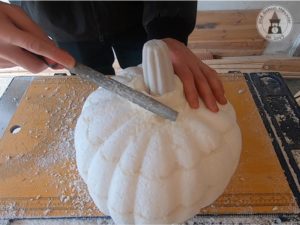
After the construction foam has hardened, the transition from the stem to the pumpkin is worked out. The shape of the transition is ground out with the coarse file. Then, with the help of the milling cutter, the indentations are drawn down from the handle into the transition.
Step 6 – Hart coat part 1
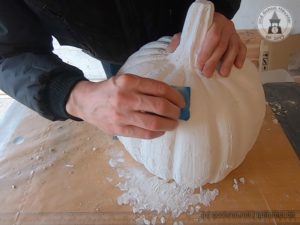
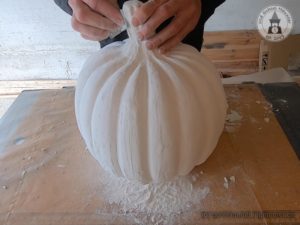
Now the pumpkin gets its solid shell. In the first step, the plaster of paris is applied to the pumpkin. It is best to apply the plaster with gloves. All holes and slots in the styrofoam should be closed here. The plaster of paris can also be used to create a few bumps, because a real pumpkin is not smooth either.

After the plaster has dried, this layer is sanded with 120 grit sandpaper. Do not sand too much. It is best to grind only grains that stick out of the plaster. So it doesn’t have to be sanded 100% smooth.
Step 7- Hart coat part 2
Plaster has the disadvantage that it absorbs moisture from the air. Therefore, a layer of the filler that is suitable for outdoor use is now applied. When mixing the leveling compound, it is best to leave the compound a little more liquid than the instructions say. Then the mass can be applied with a brush and you get a very good result in this step.
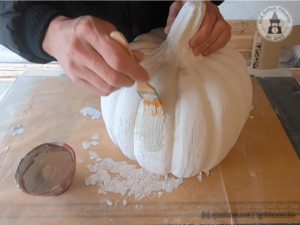
IMPORTANT! Here you have to work as precisely as possible, because the filler is very difficult to sand off afterwards.
After it has dried, it is sanded again lightly with 180 grit sandpaper.

Step 8 – Let it be colorful
A gray pumpkin doesn’t necessarily look pretty. That is why the orange is used now. The paint is applied to the pumpkin with a brush up to the base of the stem.
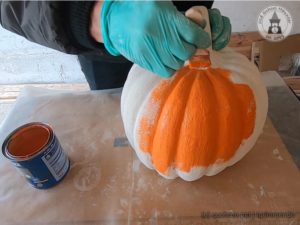
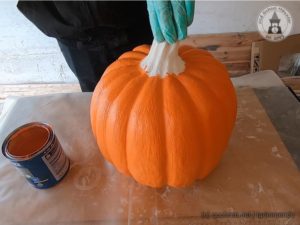
This step is carried out a total of 2 times.
Step 9 – The stem
The stem is painted with a mixture of clay brown and moss green. As first step brown color is applied. Work here with very little paint and the best dry brush technique. The gray of the filler does not have to be covered. If the brown has not yet dried off, the moss green is applied using the same technique. The brown and green can also partially mix. Then you get a very good result.
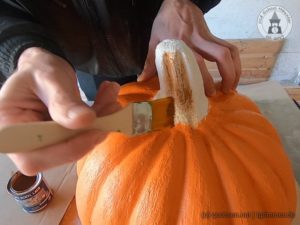

The base of the stem along the pumpkin is then painted with the black. Again, work with little color. Depending on personal taste, a deep black thin border can be drawn along the transition from stem to pumpkin. I didn’t do that with my pumpkin.

Step 10 – Seal it
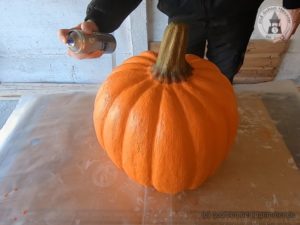
Because my pumpkin is placed outside I apply a matt clear coat to seal the coat. This way the pumpkin is more robust when placed outside for longer time.
