Introduction

Singing pumpkins for Halloween? Where do you find something like that? In my Halloween 2020 setup, I had the 3 funny pumpkins from AtmosFX in use for the first time. These sat merrily on a garden bench and talked, sang and made all kinds of funny faces. This was an absolute highlight for all visitors that evening. In this article I show how the setup was in 2020 and how the whole thing basically works.
View setup video of the singing pumpkins at “Old School Haunter”.
An overview of all the craft instructions can be found here.
What do i need?
- Garden bench
- 3 pumpkins (or use this tutorial to build styrofoam pumpkins)
- Projector
- Player to play video files (can be omitted if the videos are played directly from a SD card in the projector) I use a Raspberry Pi as Payer
- Bluetooth speaker (alternatively a wired one)
- Halloween net or other fabric as cover
- HDMI cable (if an external player is used)
- digital Download of the singing pumpkins Jack ‘O Lantern from AtmosFX
Step 1
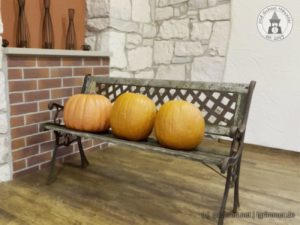
Start by placing the garden bench and the pumpkins.
Step 2
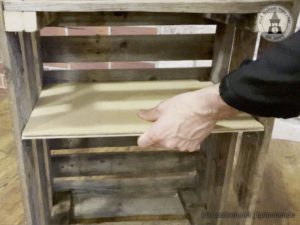
The wooden fruit crate gets a board, on which the projector is placed. This board should be at the same height as the seat of the bench. Otherwise you may get a distorted projection at the end.
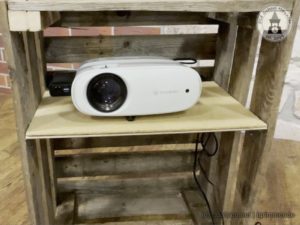
After installing the cables and connecting the projector and the Raspberry PI it looks like this.
Step 3
The crate is placed in front of the bench. In dependency of the used projector the distance between the bench and the projector varies. Here you have to experiment a little bit. In my case the distance is 1,20m or 48 inches.

Here you can see that the projector and the seart of the bench are at the same height. Doing so adjustments later on are much easier.
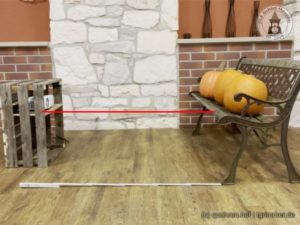
Step 4
Now the projector and the Raspberry Pi are started to adjust the projection. Here you have to adjust the focus, the left/right and the up/down position of the image.
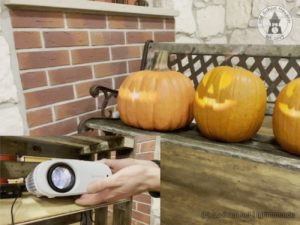
If everything is fine the faces can be seen on the pumpkins. If the projector is placed on another height you have to use the keystone correction of the projection to distort the image. Many projector provide such a function but please keep in mind, that using this you will lose quality of the projection (especially when using a cheap projector)
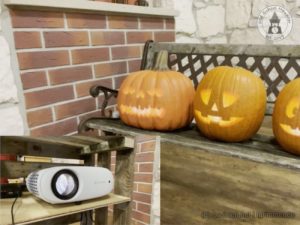
Step 5
In order for the pumpkins to get their voices, the Bluetooth speaker is activated, connected to the player and finally is placed behind the pumpkins. So you will get the illusion the voices are coming directly from the pumpkins. You may place the speaker next to the projector which also works pretty well. But doing so the illusion is not as good as the placing behind the pumpkins. This is because what you see and what you hear do not match. But it will also work.

Step 6
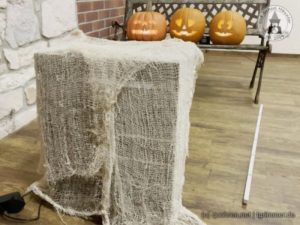
As you can seen on the image below, the visitors can see parts of the technique which is not so good. Either you use a crate where you cannot see through or you cover the crate with the Halloween fabric. In that way you can hide the technique but you will also see, that you use a wooden crate.
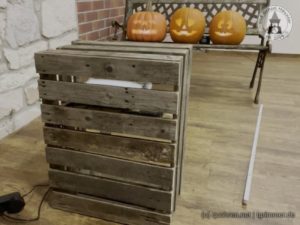
Step 7
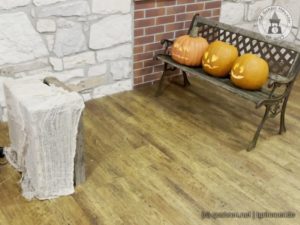
Now the setup is done and the show can begin to impress you visitors with song, jokes and laughs from the pumpkins.

Happy Halloween 🙂
** This is an affiliate link. By using the link YOU DO NOT SPEND extra money, but support me.


